How to Troubleshoot Failed Uploads From Security Cameras to Cloud Storage Services
Check your camera’s Wi-Fi signal strength-weak connections, especially over 5 GHz or through thick walls, often block uploads. Make sure cloud sync is turned on in the app and your subscription is active and not out of storage. Restart both the camera and router to clear glitches, then confirm the camera is on the 2.4 GHz band for better range. Update the camera’s firmware and app to fix known issues. Look for error codes in the upload log to pinpoint the problem-there’s more to examine if the issue persists.
Notable Insights
- Ensure the camera has a strong Wi-Fi signal by placing it closer to the router or using the 2.4 GHz band for better range.
- Verify that the cloud sync feature is enabled in the app settings and check the sync status for active uploads.
- Confirm your subscription plan is active and cloud storage hasn’t reached its limit to allow continuous footage uploads.
- Power cycle the camera and router for 30 seconds to reset connections and resolve temporary network or device glitches.
- Update the camera’s firmware and app to the latest version to fix bugs and improve cloud upload reliability.
Is Your Wi-Fi Strong Enough for Cloud Uploads?
Ever wonder why your security camera footage isn’t making it to the cloud? Weak Wi-Fi could be the culprit. Your camera needs strong signal strength to maintain a steady connection, especially when uploading high-resolution video. If the camera is too far from the router or has obstacles like walls in the way, the signal strength drops, causing interruptions. Even with decent signal, your network’s bandwidth capacity matters. Multiple devices streaming or downloading at once can use up available bandwidth, leaving little for your camera. This slows uploads or stops them entirely. To fix this, position your camera closer to the router or use a Wi-Fi extender. Consider upgrading your internet plan if your bandwidth capacity is consistently maxed out. A 2.4 GHz band offers better range, while 5 GHz provides faster speeds with less interference, if within range. For Ring camera users, investing in one of the best WiFi extenders for Ring cameras can significantly improve upload reliability.
Did You Enable Cloud Sync on the Camera?
You might have a strong Wi-Fi signal and plenty of bandwidth, but that alone won’t guarantee your footage reaches the cloud-first, you need to confirm cloud sync is turned on in your camera’s settings. Check the app for your security system and look for the Cloud sync toggle; if it’s off, your videos won’t upload, no matter how good your connection is. Flip the toggle on and wait a few moments for it to engage. Then, perform a Sync status check to verify that your camera is actively sending clips. Some models show real-time upload indicators, while others log recent activity. If sync remains inactive after enabling the toggle, try restarting the camera or reinstalling the app. Never assume settings are enabled by default-many users overlook this simple step, leading to avoidable gaps in cloud storage.
Is Your Cloud Plan Active and Not Full?
Even with cloud sync enabled, your camera won’t upload footage if your subscription plan has expired or reached its storage limit. Check your subscription status through the app or your account portal-many services pause uploads automatically once the plan ends. If your plan is active but uploads are still failing, review your storage capacity. Most cloud plans offer tiered storage, and hitting the cap stops new footage from saving. You’ll likely get alerts, but don’t rely on them alone. Regularly monitor usage to avoid gaps in recording. If you’re near full, consider upgrading your plan or offloading older clips. Some providers allow automatic overwrites, which helps, but that depends on your settings. Knowing your plan’s limits and renewal date keeps your system running smoothly. Always verify both subscription status and available storage capacity when troubleshooting failed uploads.
Try Restarting the Camera and Router
If uploads are failing despite an active and sufficient cloud plan, a simple restart of both the camera and network router can resolve underlying connectivity issues. You should power cycle each device by unplugging it for 30 seconds, then plugging it back in. This clears temporary network glitches and resets the connection. While the devices reboot, check your camera placement-poor location near metal objects or thick walls can weaken Wi-Fi, worsening upload problems. A stable signal is essential for consistent cloud syncing. After the power cycle, give the system a few minutes to reconnect and resume uploads. If issues persist, consider whether your camera placement might be limiting performance, even after a restart. Restarting regularly may help maintain peak function. This step is fast, free, and often effective before moving to more complex fixes. For reliable performance, choose one of the best wireless security cameras for home use that offer strong cloud integration and robust Wi-Fi connectivity.
Update the Camera and App Now
A solid connection and properly functioning hardware are the foundation of reliable uploads, but without current software, even a restarted camera can struggle to sync footage. Firmware upgrades fix bugs and improve performance, while app compatibility guarantees seamless communication between your device and cloud service. Manufacturers regularly release updates to address security flaws and enhance features, so checking for them should be routine.
| Update Type | Purpose |
|---|---|
| Firmware upgrades | Improve camera stability and security |
| App updates | Guarantee app compatibility and new features |
Don’t ignore update notifications-they often resolve known upload issues. Most apps let you check for updates manually under settings. Always complete updates over a stable Wi-Fi connection to prevent interruptions. Doing this now reduces future failures and keeps your system running smoothly.
Check the Upload Log for Error Codes
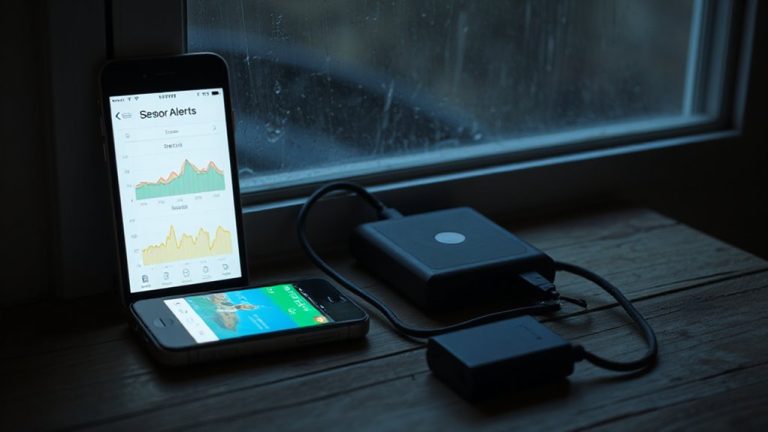
What should you do when your security camera still won’t upload footage despite a strong connection and updated software? Check the upload log for error codes. These logs record each upload attempt and often include specific codes that explain failures. You’ll find them in your camera’s app or cloud portal. Look for error patterns-repeated codes may point to authentication issues, network timeouts, or storage limits. High log frequency with consistent errors suggests a persistent problem needing immediate attention. Compare the codes against the manufacturer’s documentation to identify causes. Some apps even highlight common fixes. Monitoring logs regularly helps catch problems early. While reviewing, note if errors occur at certain times, which might link to bandwidth spikes. This data-driven step is essential for accurate troubleshooting and guarantees you don’t overlook recurring system alerts that automated features might miss.
On a final note
Check your Wi-Fi signal, make certain cloud sync is turned on, and confirm your storage plan is active and not full. Restart both the camera and router to fix common glitches. Update the camera firmware and app to the latest version for better performance. Review upload logs for error codes, which can point to specific issues. These steps usually resolve most upload problems, keeping your footage securely stored.