How to Map Your Property’s Blind Spots and Cover Them With Surveillance
Walk your property at different times to spot gaps, especially near corners, back doors, and thick shrubs where cameras often miss activity. Use each camera’s field of view specs to map coverage and overlap angles just enough to eliminate blind spots without wasting storage. Prioritize entry points and hidden zones like side gates or garages with motion-triggered, weather-resistant cameras that have strong night vision. Position lights near cameras to boost low-light clarity and avoid high mounts or reflective surfaces. Test views after rain or snow, clean lenses monthly, and adjust angles to cover unseen areas-especially where intruders linger beyond detection. A well-planned layout now improves response and guides smarter upgrades later.
Notable Insights
- Walk your property’s perimeter at different times to identify blind spots obscured by corners, landscaping, or weather.
- Use camera field of view specifications to map coverage gaps and plan overlapping angles without overextending.
- Focus on securing high-risk areas like doors, windows, and hidden access points before expanding coverage.
- Install infrared-compatible lighting and weather-resistant cameras to eliminate night vision and environmental blind spots.
- Test and adjust camera angles regularly, clean lenses monthly, and reassess layout every six months for optimal performance.
Find Security Camera Blind Spots
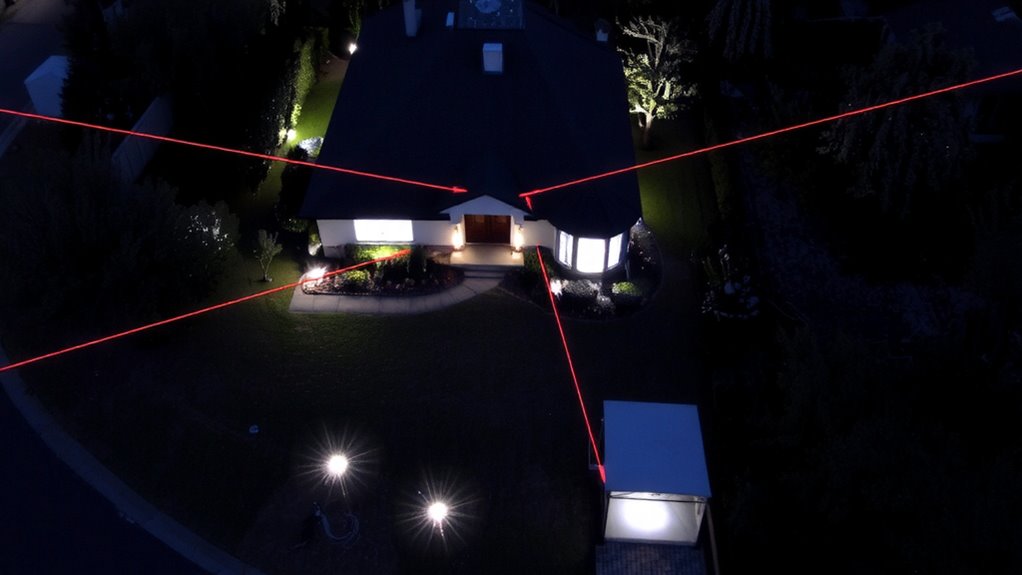
Where are your cameras missing coverage? You might assume your property is fully monitored, but blind spots often exist near corners, back doors, or dense landscaping. Infrared limitations mean nighttime vision can fail beyond certain distances or in complete darkness, leaving areas unseen. Weather interference, like heavy rain, snow, or fog, can also obscure lenses or reduce night vision clarity, creating temporary gaps. Check footage after storms to identify these weak points. Position lights near cameras to improve infrared performance, but don’t rely solely on night vision. Consider dual-light or color night vision models-they cost more but reduce infrared limitations. For consistent coverage, use overlapping camera fields where possible. Review recordings weekly to spot motion gaps. Address blind spots early, especially near entry points. A $120 camera may underperform in bad weather, while $200+ models often handle interference better. Plan placements strategically, not just by wiring convenience. Top-rated models in our best outdoor security cameras guide offer superior weather resistance and night vision clarity.
Map Coverage Using Field Of View
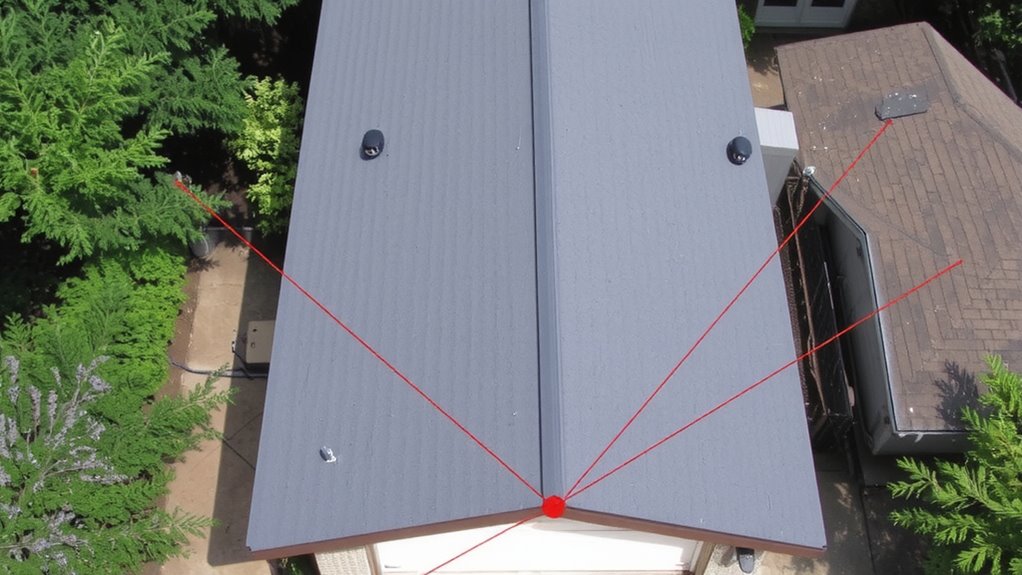
You’ve checked your footage and spotted gaps, but knowing exactly where cameras cover-and where they don’t-starts with understanding field of view (FOV). Each camera lens captures a specific angle, and overlapping these areas guarantees continuous monitoring. Proper field overlap reduces blind spots, while too much can waste storage and create confusion. Watch for lens distortion, especially with wide-angle or fisheye lenses, as it warps edges and makes identification harder. Position cameras to balance coverage and clarity, using FOV specs from manufacturer data. For optimal results, consider the performance of the top-rated outdoor security cameras when planning your layout.
| Scene | Clear Coverage | Missed Threat? |
|---|---|---|
| Front walkway | Yes | No |
| Back corner | Partial | Yes |
| Driveway entrance | Yes | No |
| Side gate | No | Yes |
| Porch steps | Yes | No |
Use this data to adjust placements before installing permanently.
Protect High-Risk Areas First
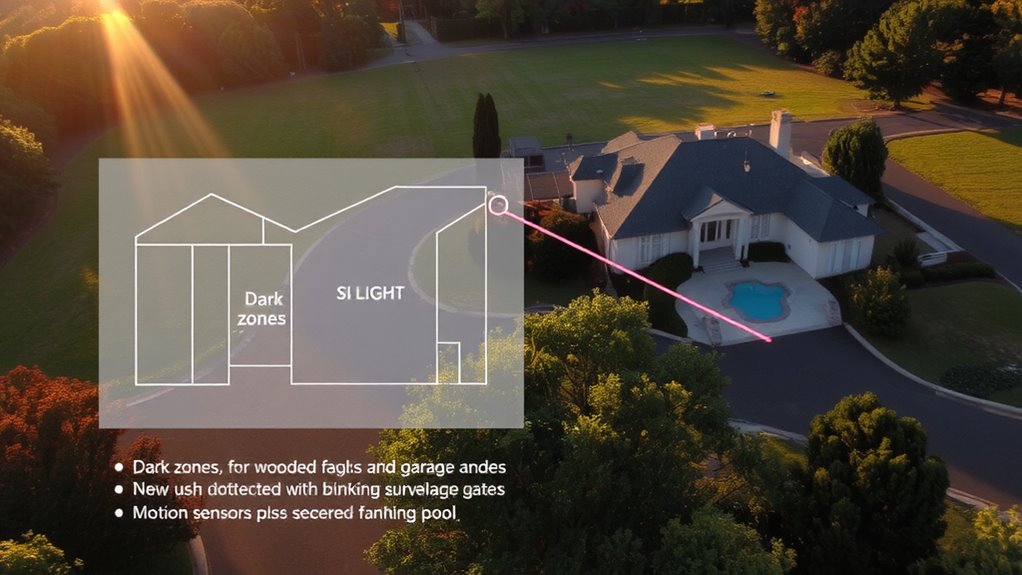
While covering every inch of your property is ideal, you’ll get the most security benefit by focusing first on areas where threats are most likely to occur or cause the greatest harm. Start by securing entry points like doors and windows, since these are common access routes for intruders. Surveillance here increases detection and deters break-ins. Pay close attention to vulnerable zones-places hidden from street view or blocked by landscaping-where criminals may linger unseen. These spots often include side yards, back alleys, or garages. Prioritizing them reduces risk markedly. Use motion sensors paired with cameras to maximize responsiveness. Though it might cost more upfront, protecting high-risk areas first improves overall effectiveness. You don’t need full coverage to make a difference-just smart placement. This strategy provides better protection faster and guides future expansions of your system. A reliable indoor option can enhance monitoring of internal access points with best indoor security cameras.
Choose Cameras That Eliminate Gaps
Focus on closing visibility gaps once you’ve secured high-risk zones like entry points and secluded corners of your property. Smart camera placement is key-position units to overlap fields of view, ensuring no area is left uncovered. Choose models with wide-angle lenses or pan-tilt functions to maximize coverage. For wireless systems, check for signal interference from walls, trees, or electronic devices, as these can disrupt video transmission and create blind spots. Place cameras within ideal range of your network, or consider wired options for reliability. Avoid mounting too high or too close to reflective surfaces. Look for cameras with high resolution and low-light performance to maintain clarity. Test coverage during installation, but remember-fine-tuning comes later. Prioritize durability and weather resistance for long-term performance. Budget for enough units to maintain consistent surveillance without stretching your system too thin.
Test and Optimize Your Surveillance
Why do some homeowners still miss critical activity despite having cameras installed? Because poor camera placement and neglected system maintenance can leave gaps even in seemingly secure setups. You should test your system regularly by walking the perimeter at different times of day, checking for blind spots or obscured views. Adjust camera angles to cover key entry points and low-visibility zones. Guarantee recordings are clear and motion triggers work properly. Clean lenses monthly and verify Wi-Fi or power stability. Firmware updates are essential-schedule them quarterly. Test night vision to confirm adequate illumination. Use this data to optimize camera placement and eliminate coverage flaws. System maintenance isn’t optional; it guarantees reliability. Reassess every six months or after major landscaping changes. A well-maintained system with strategic placement gives you real, lasting security.
On a final note
You’ve mapped your property’s blind spots and prioritized high-risk areas, so now place cameras with overlapping fields of view to eliminate gaps. Choose models with wide angles, night vision, and motion detection for reliable coverage. Test each camera’s sightlines and adjust mounts to improve clarity. Regularly review footage to spot weaknesses. A well-planned system costs more upfront but reduces long-term risks and increases effectiveness.