Installing a Smoke Detector Interface Module Into Your Home Alarm System
Make sure your alarm panel is compatible with the interface module by checking the model number and manufacturer specs. Turn off power, then mount the module near the panel and connect 18-gauge wires from smoke detectors to the correct terminals. Use a voltage tester and follow wiring labels to avoid errors. Test each detector to confirm the panel responds. Common issues include loose wires or incorrect voltage-fix them early to guarantee reliable operation. Next steps reveal how to fine-tune detection and avoid false alarms.
Notable Insights
- Verify compatibility between the smoke detector interface module and your alarm panel model before installation.
- Turn off power at the breaker and use a voltage tester to ensure wires are not live.
- Mount the interface module near the alarm panel in a dry, accessible location for reliable connectivity.
- Connect 18-gauge wire from the smoke detectors to the module’s alarm or relay terminals securely.
- Test each detector with canned smoke and confirm the alarm system receives and logs the signal correctly.
Check Your Alarm System’s Compatibility
Before buying a smoke detector interface module, make sure it’s compatible with your existing alarm system, since not all modules work with every panel. You need to perform a compatibility check by reviewing your alarm panel’s model number and manufacturer guidelines. Most manufacturers provide online tools or charts listing supported modules. Check the system requirements carefully-some modules need specific firmware versions or communication protocols. Installing an incompatible module can disable detection functions or generate false alarms. Don’t assume universal fit; even brands from the same company aren’t always interchangeable. Confirm voltage ratings and signal types (hardwired vs. wireless) match your setup. Taking time for a proper compatibility check prevents costly mistakes and guarantees seamless integration. Always double-check specifications before purchase.
Gather Tools & Supplies for Installation
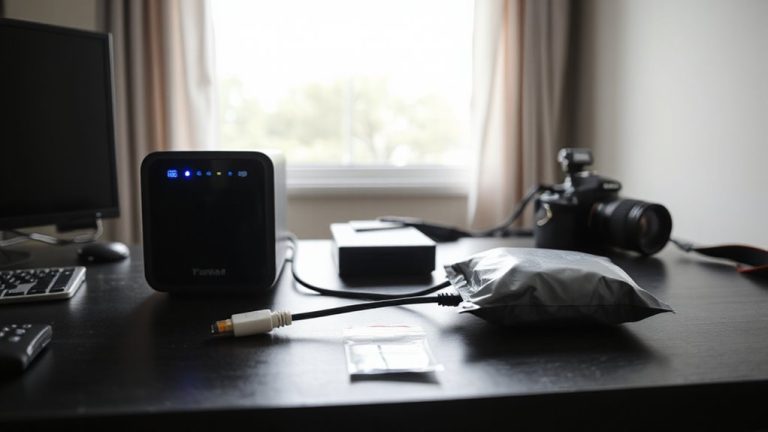
Once you’ve confirmed compatibility, gather the right tools and supplies to guarantee a smooth installation. You’ll need a voltage tester, wire strippers, screwdrivers, crimp connectors, and electrical tape-all essential for meeting safety standards. Check your local electrical codes before starting, as they dictate wiring methods and device placement. Include a compatible smoke detector interface module, extra low-voltage wire, and mounting hardware. A labeled terminal strip helps organize connections and simplifies troubleshooting later. Wearing insulated gloves and using a non-contact voltage tester assures personal safety. Keep manufacturer instructions on hand, since models vary in wiring schemes and power requirements. Planning now avoids delays; verify that your system’s power supply supports the added load. Investing in quality materials up front reduces maintenance and keeps your setup compliant. Following codes and safety standards isn’t optional-it’s critical for reliable performance and insurance compliance.
Install the Smoke Detector Interface Module
While turning off the power at the circuit breaker, you’ll want to confirm the wires are dead using a non-contact voltage tester before doing any work. Mount the smoke detector interface module near your main alarm panel, ensuring it’s within reach of both power and detector connections. Most models support 12V or 24V systems and are designed for straightforward alarm interfacing with existing control boards. Proper placement allows reliable smoke sensing communication without signal loss. Check the manufacturer’s specs for compatibility with your system-some modules support multiple detectors, while others require expansion boards. Secure the unit with screws or double-sided tape, depending on surface type. Make sure the area is dry and free from dust or obstructions. This module bridges your smoke sensing devices and alarm panel, enabling centralized monitoring and faster response times.
Wire the Interface to Your Smoke Detectors
You’ve got the smoke detector interface module securely mounted near your main alarm panel, and now it’s time to connect it to your smoke detectors. Follow wiring standards carefully-use 18-gauge two-conductor wire for most setups, and always turn off power before starting. Match the interface’s terminals to your smoke detectors’ output wires, usually labeled “alarm” or “relay.” Check your system’s voltage requirements, typically 12V or 24V DC, and confirm compatibility with your detectors. Mismatched voltage can damage components or prevent alarm signals from registering. Connect the wires tightly and use wire nuts or terminal blocks to secure connections. Keep wire runs as short as possible to reduce interference. Label each wire at both ends to simplify troubleshooting later. Proper adherence to wiring standards guarantees reliable communication between detectors and the alarm panel. This step is critical for system performance, so double-check all connections before moving forward.
Test the Alarm System Integration
Since proper wiring is complete and all connections are secure, it’s time to verify that the smoke detector interface module communicates correctly with the alarm panel. Begin system verification by triggering one smoke detector at a time, either with canned smoke or by pressing its test button. Watch the panel to confirm it receives the alarm signal promptly and logs the event accurately. Repeat for each detector to guarantee consistent communication. This process helps identify weak links and reduces the chance of false alarms caused by poor signal transmission. Avoid using open flames or actual smoke, as they may set off prolonged alerts or cause unnecessary emergency responses. Proper testing guarantees reliability and gives you confidence in your system’s performance. Note response times and error messages, as they can guide future troubleshooting. Complete testing during daylight hours with someone nearby to respond quickly if needed.
Fix Common Wiring & Connection Issues
A few common wiring and connection issues can disrupt your smoke detector interface module’s performance, but most are easy to fix with basic tools and a methodical approach. First, check for loose connections-tighten any terminals that feel unstable. Broken or frayed wires should be trimmed and reconnected using wire nuts or terminal blocks. Grounding problems often cause erratic behavior, so make certain the system shares a common ground between the alarm panel and the module. If not, link a ground wire between both units to stabilize performance. Signal interference from nearby electronics or unshielded cables may also disrupt communication. To reduce this, separate low-voltage wiring from electrical lines and use shielded cable when possible. Test the system after each fix. If issues persist, consult the device manual for troubleshooting steps specific to your model. Choosing the right best home alarm systems can significantly improve integration and reliability with safety devices like smoke detectors.
On a final note
You’ve now installed your smoke detector interface correctly. Check that all connections are secure and test the system weekly. This upgrade improves safety by linking smoke detectors to your alarm, alerting you faster. While installation may take an hour, the long-term benefit is clear: better protection at a low cost. If issues arise, review wiring steps-it’s usually a loose wire. Always follow the manufacturer’s guide for best results.