Optimizing Lighting Schemes to Enhance Video Quality From Security Cameras at Night
Use infrared or 4000K–5000K visible light to improve night video clarity, depending on whether stealth or color detail matters most. Place lights above or beside cameras to reduce shadows and glare, avoiding direct lens exposure. Opt for motion-activated, shielded fixtures to save energy and minimize false alerts. Sync lighting with camera night mode and adjust settings like exposure and white balance. Balance intensity to avoid washout. You’ll find tailored strategies that fit your setup and environment.
Notable Insights
- Use infrared lighting for stealthy, effective night vision without disturbing surroundings or alerting intruders.
- Position lights above or beside cameras to eliminate shadows and prevent glare in video footage.
- Install motion-activated lights to improve energy efficiency and reduce false triggers with adjustable settings.
- Choose 4000K–5000K LED bulbs to produce daylight-balanced illumination that enhances facial and object recognition.
- Balance light intensity with camera settings like exposure and wide dynamic range to avoid washed-out images.
Choose Infrared or Visible Light for Night Vision
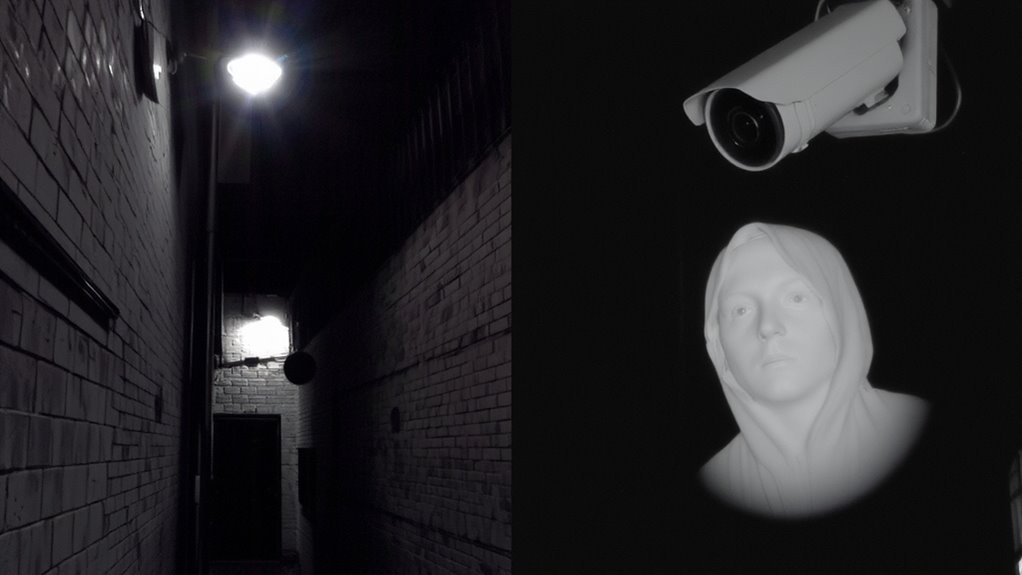
While visible light can illuminate nighttime scenes just like daylight, infrared is usually the better choice for security cameras because it works without drawing attention. You’ll find that infrared light sits just beyond the visible light spectrum, invisible to the human eye but detectable by most security cameras. This gives you stealthy surveillance without alerting intruders. Camera sensitivity to infrared varies, so check specs to guarantee strong low-light performance. Infrared doesn’t cause light pollution or disturb neighbors, making it ideal for residential use. Visible lighting, while useful for color footage, can create glare and is easily noticed. It also attracts insects and raises energy costs. If you choose visible light, pair it with motion sensors to save power. Infrared systems typically cost a bit more upfront but offer reliable, discreet night vision. Prioritize camera sensitivity and compatibility with your chosen light spectrum. For optimal results, consider models highlighted in expert reviews of the best infrared cameras.
Place Lights to Cut Shadows and Glare
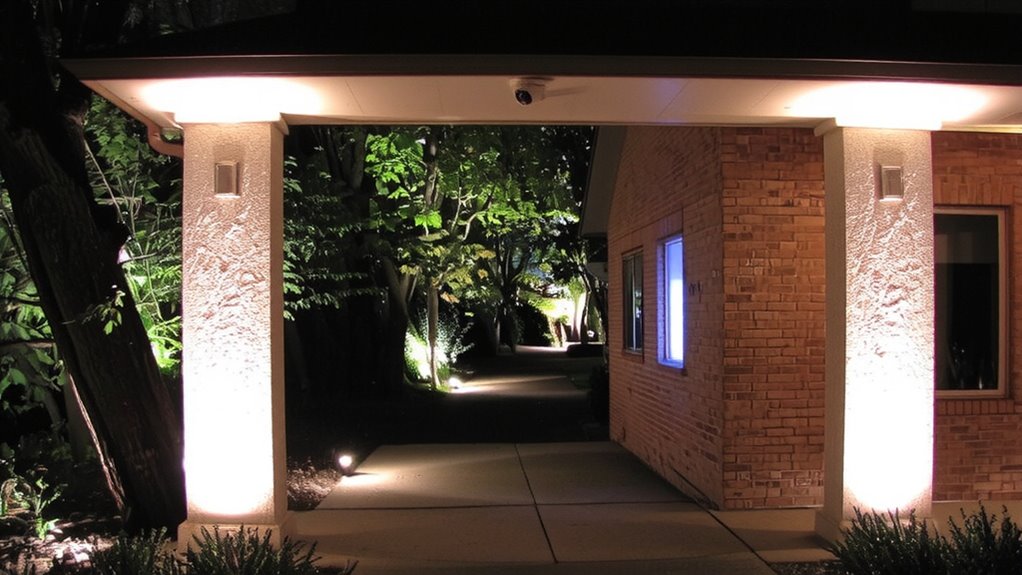
Proper light placement plays a key role in reducing shadows and glare that can compromise your security camera’s effectiveness at night. Position lights to evenly illuminate key areas like doors, walkways, and corners without shining directly into the camera lens-that causes glare. Use multiple low-intensity lights instead of one bright source to aid shadow reduction. Mount lights above or to the side of cameras, not below, to minimize blind spots. Aim them slightly downward to avoid flare. Wall-mounted or pole-mounted fixtures often work best. Consider light color temperature; warm white (2700K–3000K) reduces glare better than cool white. Proper light placement also prevents overexposure, keeping facial features and license plates visible. Test different angles at night before finalizing positions. While fixtures cost $20–$100 each, strategic setup boosts video clarity without rewiring. Best motion sensor flood lights offer reliable performance and optimal coverage for security lighting needs.
Set Lights to Turn on With Motion
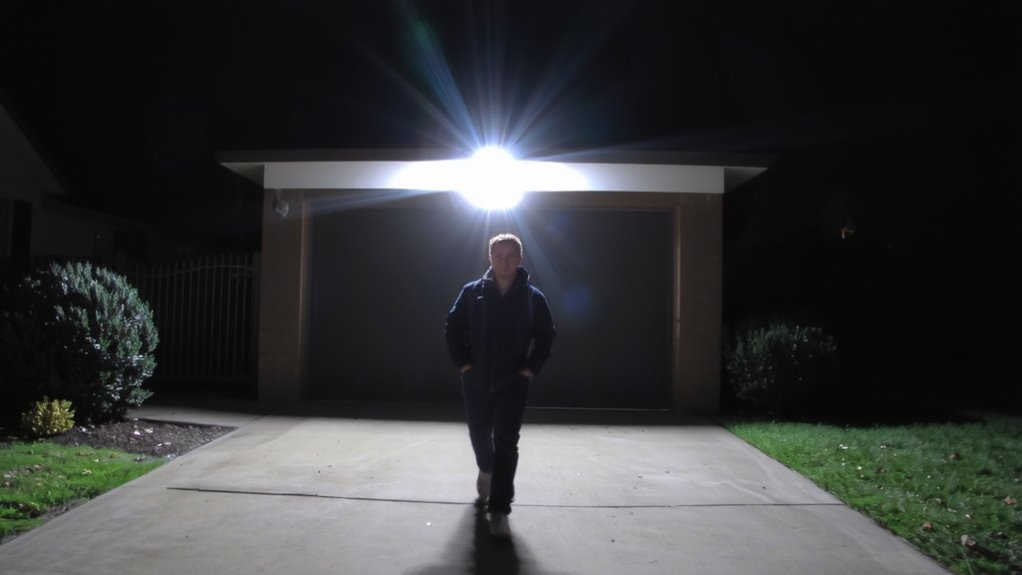
Turning on lights when motion is detected adds an extra layer of control to your nighttime security setup, building on the consistent illumination you’ve already established. You’ll improve energy efficiency by limiting light use to only when it’s needed, reducing waste and lowering electricity costs over time. Pair motion-activated lights with smart scheduling so they operate only during high-risk hours, like dusk to dawn, or disable them when you’re home. Most systems let you adjust sensitivity and duration, helping avoid false triggers from animals or passing cars. These features give you reliable footage when motion occurs without keeping lights on all night. While installation may require a higher upfront cost, the long-term savings and enhanced camera performance usually justify the investment. Choose models with weather resistance and app-based controls for greater flexibility and integration with your existing security system. For reliable performance, consider installing one of the best wireless motion sensor lights designed specifically for outdoor use.
Use 4000K–5000K Bulbs for Clear Footage
Since lighting color temperature affects how clearly your security cameras capture footage, picking bulbs between 4000K and 5000K gives you the best balance of clarity and contrast at night. This range offers a neutral to cool white light that mimics natural daylight, improving facial and object recognition without oversaturating shadows. Higher color temperature doesn’t mean better visibility-above 5000K, light can appear too blue, reducing contrast and increasing glare. Bulb efficiency also matters; LED bulbs in this range use less power while delivering bright, consistent output. See the comparison below:
| Color Temperature | Visibility Quality | Bulb Efficiency |
|---|---|---|
| 3000K | Warm, low contrast | High |
| 4000K–5000K | Clear, balanced | Very High |
| 6000K+ | Harsh, bluish | Moderate |
Choose 4000K–5000K LEDs for ideal performance and long-term savings.
Don’t Overpower Lights: Avoid Washout
You’ve picked the right color temperature with 4000K–5000K LEDs, but brightness matters just as much-too much can actually hurt your camera’s performance. Excessive light intensity causes washout, where bright areas drown out details, making faces or license plates unreadable. You want enough illumination to enhance visibility, but not so much that it overexposes the image. Proper fixture shielding helps direct light where it’s needed, reducing glare and spill that confuse your camera’s sensor. Shielded fixtures also improve efficiency by focusing light on key zones like entryways or driveways. Aim for even, moderate lighting rather than hotspots. Use fixtures with adjustable output or motion-based activation to maintain control. Test different intensities at night and view the footage-adjust until shadows remain visible and highlights aren’t blown out. Balancing light intensity and fixture shielding guarantees clearer, usable video without compromising image quality.
Sync Lights With Camera Night Mode
Why do your security cameras sometimes miss critical details at night, even with lights on? It’s likely because your lights aren’t using light synchronization with your camera’s night mode. Without proper coordination, lights may stay off when motion occurs, or turn on too late due to delayed camera triggering. Syncing them guarantees illumination activates the moment your camera switches to night mode. This alignment improves image clarity and helps capture usable footage. Consider these options:
| Method | Pros | Cons |
|---|---|---|
| Motion-based triggering | Saves energy, targets activity | Possible delay |
| IR-activated sync | Fast response, reliable | Needs compatible hardware |
| Scheduled lighting | Predictable, consistent | Less adaptive |
Use camera triggering signals to activate lights automatically. This integration enhances detection accuracy and reduces blind spots. Invest in systems supporting light synchronization for reliable nighttime performance. Check compatibility before buying.
Combine Lighting and Settings for Best Results
Light synchronization alone won’t guarantee ideal night vision if your camera settings aren’t adjusted to match. You need to fine-tune exposure, gain, and infrared filters based on your lighting setup. Proper light diffusion prevents harsh glare and shadows, ensuring even illumination across the scene. Position lights to spread light widely, using frosted covers or diffusers for softer output. For color calibration, adjust white balance to match your light source-cool white LEDs need different settings than warm bulbs. This preserves accurate skin tones and object colors when color mode activates. Pair wide dynamic range with diffused lighting to handle contrast. Test settings at different times, noting clarity changes. Most cameras let you save custom profiles, so lock in what works. While syncing and diffusing lights helps, precise camera calibration delivers reliable, high-quality footage. Budget for quality LEDs and adjustable fixtures-it pays off in video accuracy.
On a final note
You’ll get clearer nighttime footage by choosing infrared or 4000K–5000K visible lighting, which balances detail and color accuracy. Position lights to reduce shadows and glare, and sync them with camera night mode and motion sensors to save energy. Avoid overly bright lights-they can wash out images. Combining proper bulbs, strategic placement, and camera settings improves video quality without costly upgrades, giving reliable, data-backed results for most home setups.