Configuring Automated Siren Activation Based on Window Sensor Triggers
You’ll need a smart hub like Samsung SmartThings or Hubitat, which supports Z-Wave or Zigbee sensors and enables instant automation. Install magnetic window sensors on all accessible windows, placing the magnet on the moving sash and sensor on the frame. Connect a wired or battery-powered siren, ideally centrally located for clear 85–100 dB coverage. Set up automation so any window sensor trigger activates the siren immediately, with sensitivity adjustments to avoid false alarms. Test each window’s response, checking for fast, reliable siren activation and fine-tuning delays or thresholds. Keep sensors maintained every few years and update hub firmware regularly. More details on optimizing each component follow.
Notable Insights
- Ensure your smart hub supports automation and is compatible with both window sensors and sirens.
- Install magnetic window sensors with the sensor on the frame and magnet on the sash, gap under 1/4 inch.
- Pair the siren with the hub using Z-Wave or other supported wireless protocols for reliable communication.
- Configure automation rules in the hub to trigger the siren instantly when a window sensor is activated.
- Test the system by opening protected windows and adjust sensor sensitivity to prevent false alarms.
Pick a Smart Hub for Alarm Automation
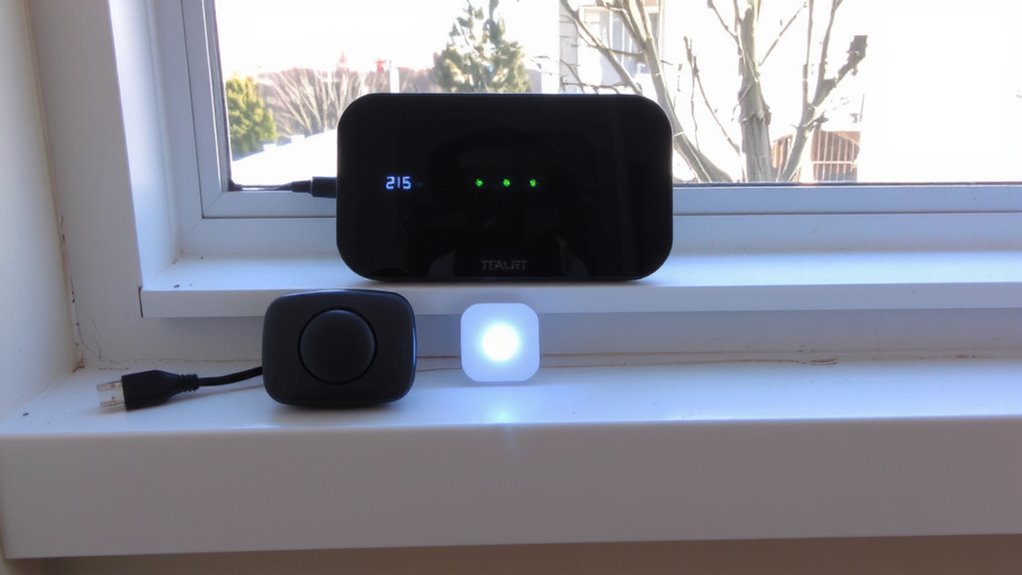
While you can set up individual smart devices to trigger a siren manually, using a smart hub gives you reliable, automated control over your entire alarm system. You’ll need to check hub compatibility with your existing or planned devices to guarantee smooth integration. Most hubs support common protocols like Z-Wave, Zigbee, or Wi-Fi, but not all brands work together. Device pairing should be straightforward, ideally through an app with guided setup. Look for hubs that support automation routines, remote access, and local processing to keep your system running even during internet outages. Popular options include Samsung SmartThings and Hubitat, both offering strong device pairing flexibility. Though hubs add upfront cost, typically $60–$120, they improve reliability. Choose one with regular firmware updates and strong security standards to protect your system now and in the future. For a comprehensive overview, see the best smart home hubs buying guide.
Install Window Sensors That Trigger Alarms
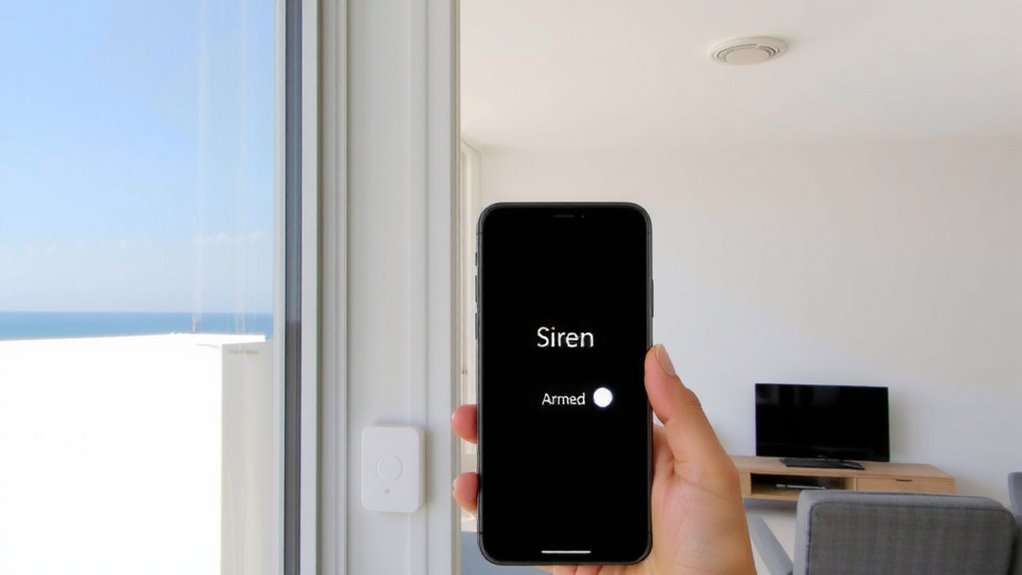
Since window sensors are a critical part of any automated alarm system, you’ll want to choose models that reliably detect openings and integrate smoothly with your smart hub. Proper sensor placement matters-install the magnet on the moving window sash and the sensor on the frame, keeping gaps under 1/4 inch for consistent detection. Place sensors on all ground-floor and accessible upper-level windows to maximize coverage. You can adjust alarm sensitivity in most systems to reduce false alerts from vibrations or drafts, but don’t set it too low or you might miss a real breach. Most magnetic contact sensors cost $15–$30 each and are battery-powered, lasting 2–5 years. Test each sensor after installation by opening the window and confirming the system registers the event. Good placement and calibrated sensitivity guarantee reliable, automated responses without unnecessary alarms. For similar reliability in other entry points, consider installing best garage door alarm sensors designed for seamless smart home integration.
Connect Your Siren to the Security System
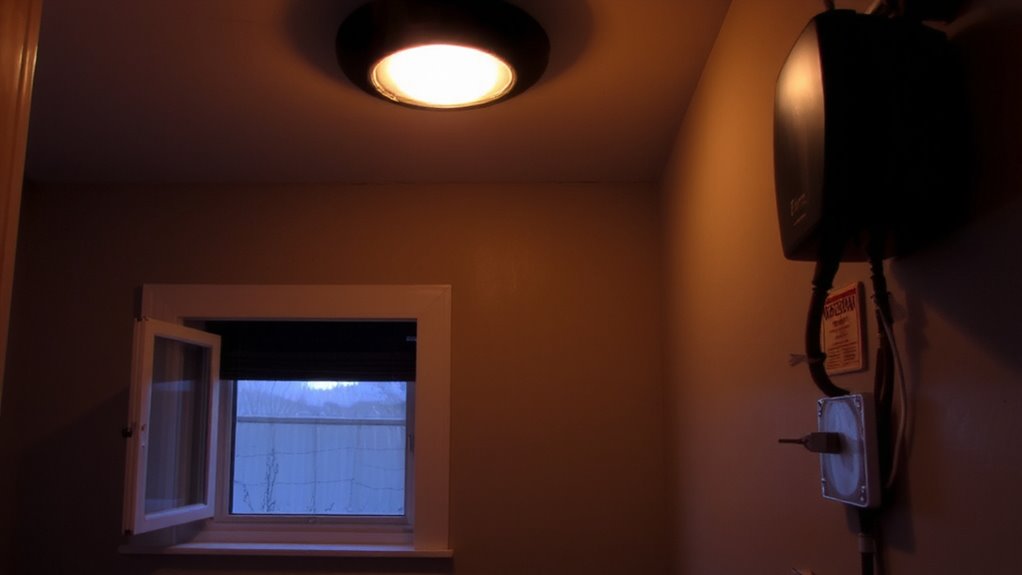
Once you’ve installed your window sensors and confirmed they’re working, it’s time to connect your siren so the system can respond automatically to threats. Choose siren power sources carefully: hardwired models offer reliability during outages, while battery-powered units provide easier installation. If using batteries, pick long-life lithium types and plan to test them every three months. For siren placement strategies, install the siren near entry points like windows and doors but out of reach to prevent tampering. Place it centrally if possible, guaranteeing sound reaches all areas-studies show sirens are most effective at 85–100 decibels. Avoid corners or closets that muffle sound. Connect the siren to your security hub using wired links or secure wireless protocols like Z-Wave. Confirm pairing with a test signal, then secure all connections. Proper setup guarantees your siren responds reliably when triggered.
Automate Siren Activation on Window Opening
When a window opens unexpectedly, your security system should respond instantly, so setting up automated siren activation gives you immediate, audible alerts to potential break-ins. You can configure the system to trigger the siren whenever a connected window sensor detects movement, ensuring rapid response. However, false alarm prevention is critical-adjust sensor sensitivity calibration to ignore small vibrations or pets brushing past. Most systems let you set delay timers and sensitivity levels so only significant openings activate the siren. Proper calibration reduces unnecessary noise and keeps your system reliable. Always follow the manufacturer’s guidance for placement and testing. Consider models with adjustable thresholds and environmental filters, as they improve accuracy. A well-configured system balances responsiveness with stability, giving you trustworthy protection without constant false alerts. This step prepares your setup for real-world use.
Test the Alarm Response and Adjust Settings
Now that you’ve set up the system to trigger the siren when a window opens, it’s time to verify it works as intended. Open each window slowly and check if the siren activates within two seconds. Make sure no delays compromise security. Test during different times of day to catch environmental factors that might cause false alarms, like vibrations from nearby traffic or slamming doors. If false alarms occur, revisit the sensitivity calibration in your system settings. Lowering the sensitivity slightly can reduce unwanted triggers without sacrificing responsiveness. Balance is key-too low and the system might miss a real threat; too high and it reacts to minor movements. Keep a log of each test, noting response time and any issues. Use this data to fine-tune placement and settings. Most systems allow remote adjustments, so updates are simple and don’t require hardware changes. For optimal protection, consider integrating your setup with one of the best home alarm systems recommended for reliable performance and smart home compatibility.
On a final note
You’ve set up window sensors, linked them to a smart hub, and connected a siren for automated alarms. Testing confirms the system responds within seconds of a window opening. Reliable brands like Aqara and Ring offer strong compatibility and low latency. While false alarms can happen, proper sensor placement reduces them. Expect to spend $100–$250 for full setup. This automation strengthens home security with proven, responsive monitoring.