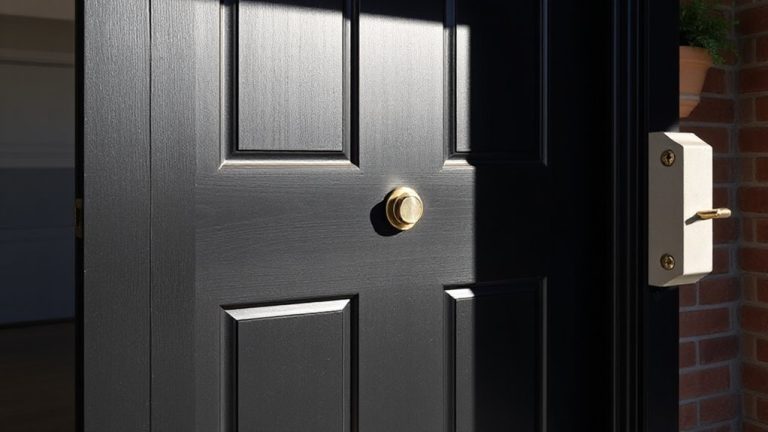
How to Add Door Sensors to Garage Entry Points Without Drilling
You can add door sensors to your garage without drilling by choosing wireless, peel-and-stick models with magnetic contact, costing $20–$50 each. Clean both surfaces with alcohol, then align sensor and magnet within 1/2 inch for reliable detection. Most run 2–5 years on lithium batteries, ideal for cold garages, and connect via Z-Wave or Bluetooth to your hub. Test alerts after pairing, and adjust placement to avoid metal interference. You’ll find more tips to optimize performance and reliability just ahead.
Notable Insights
- Use peel-and-stick magnetic contact sensors for easy no-drill installation on garage doors and frames.
- Clean both surfaces with rubbing alcohol and let them dry before applying adhesive-backed sensors.
- Align the sensor and magnet within 1/4 inch when the door is closed to ensure reliable triggering.
- Choose lithium-powered sensors with an IP54 rating for better performance in cold, dusty garage environments.
- Pair the sensor with your smart hub via the app and test door openings to confirm alert functionality.
Why Wireless Door Sensors Work for Garages
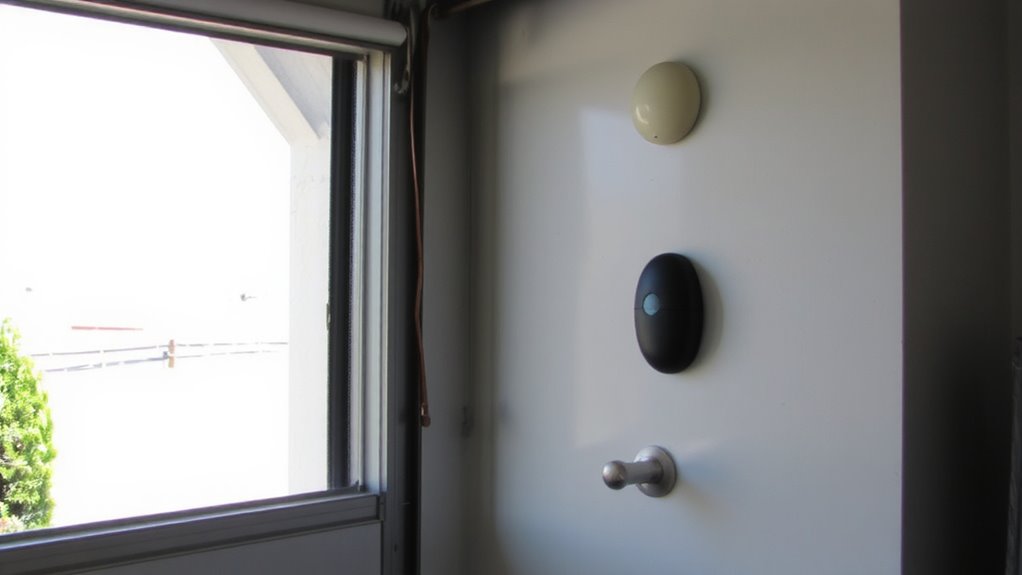
While traditional door sensors often require drilling and complex wiring, wireless options offer a practical solution for garage entry points, especially where drilling isn’t allowed or could damage structural materials. You’ll find that modern wireless sensors are designed to handle the unique challenges of garage environments. Their signal range typically reaches 300 to 500 feet, ensuring reliable communication with your home’s security hub, even through walls. Battery life usually lasts two to five years, depending on usage and temperature conditions-common in garages. You’ll want to check low-battery alerts through your system so you’re never caught off guard. These sensors install quickly, often using adhesive strips. The upfront cost ranges from $20 to $50 per unit, a small price for reliable monitoring. They integrate seamlessly with most smart home platforms, giving you real-time alerts without renovation. For added protection, consider combining these with the best motion detectors for every home to enhance overall garage security using best motion detectors.
Choose a No-Drill Door Sensor for Your Garage
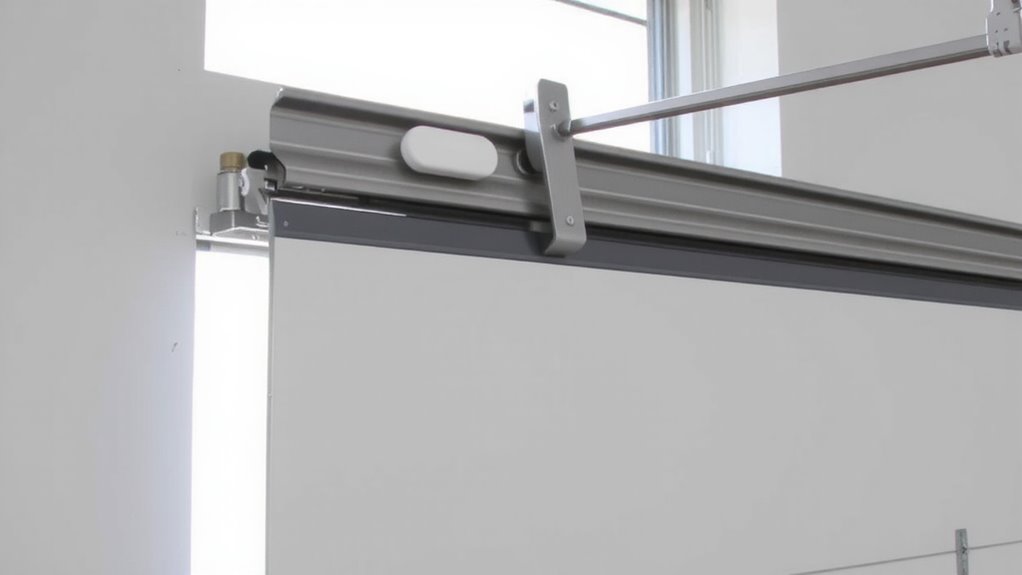
A reliable no-drill door sensor for your garage should combine strong adhesion, weather resistance, and consistent signal performance in varying temperatures. When comparing sensor types, magnetic contact sensors are most common and effective, while motion-based options suit wider entry points. Check battery life carefully-most last 12 to 24 months, but lithium-powered models outperform in cold conditions common in garages.
| Sensor Type | Battery Life |
|---|---|
| Magnetic Contact | 18–24 months |
| Motion-Activated | 12–18 months |
| Hybrid (dual) | 12 months |
Pick models with replaceable batteries to avoid full-unit replacements. Look for IP ratings of at least IP54 for dust and moisture resistance. Bluetooth or Z-Wave connectivity guarantees integration with existing security systems, but test range before final placement. Always confirm compatibility with your hub or app. Top-rated models often feature expert-tested reliability to ensure long-term performance and durability in demanding environments.
Clean and Measure Surfaces for Strong Adhesion
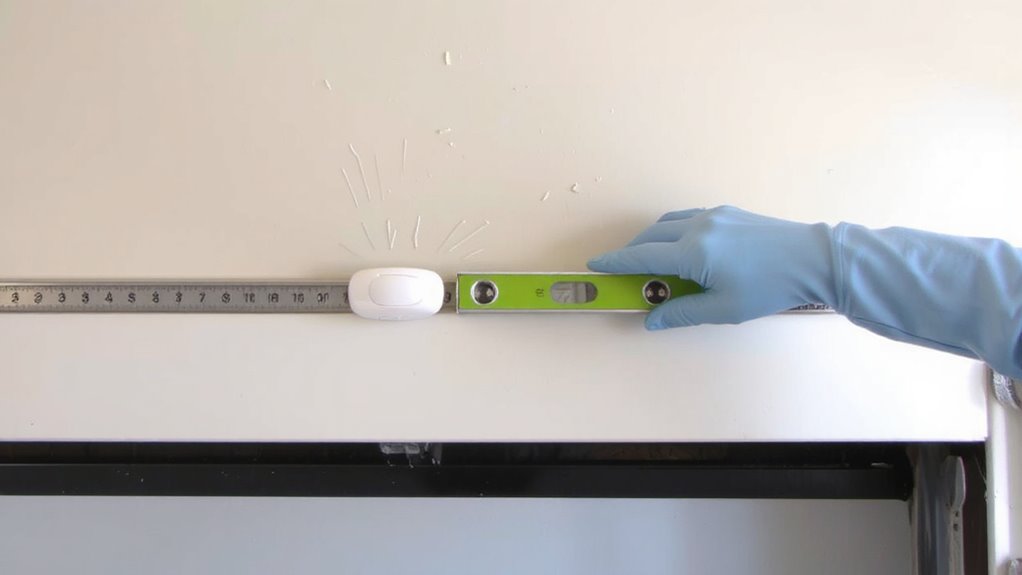
You’ve selected a no-drill door sensor that fits your garage’s needs-now it’s time to prepare the surface for installation. Surface cleanliness is critical for strong adhesion, so wipe both the door and frame with rubbing alcohol to remove dust, grease, and debris. Let the area dry completely before proceeding. For reliable sensor alignment, measurement accuracy matters-use a tape measure and level to mark exact placements. Position the sensor and magnet no more than 1/2 inch apart when the door is closed. Double-check distances to prevent false alerts or reduced responsiveness. Proper prep guarantees long-term performance without drilling. Avoid textured or damp surfaces, as they weaken bond strength. Taking these steps now increases sensor reliability and system effectiveness, giving your home security setup a solid foundation.
Apply Peel-and-Stick Door Sensors Instantly
The peel-and-stick door sensors make installation quick and hassle-free, so you can secure your garage entry points in minutes without tools or drilling. Their strong adhesive strength guarantees lasting attachment to clean, dry surfaces, reducing the risk of detachment over time. When applying, press firmly for at least 30 seconds to activate full bonding power. For best results, wait 24 hours before relying on the sensor in high-traffic or temperature-variable areas. Proper sensor alignment is critical-place the sensor and magnet within 1/4 inch of each other when the door is closed to guarantee accurate detection. Misalignment may cause false alerts or missed triggers. Check alignment by gently opening and closing the door several times while observing the connection status, if your model supports real-time feedback. These sensors offer a reliable, low-damage solution ideal for renters or homeowners avoiding permanent modifications.
Connect Door Sensors to Your Smart System
Now that you’ve set up your peel-and-stick sensors without drilling, the next step is linking them to your smart home system for real-time monitoring. Use your hub’s app to pair each sensor via Bluetooth or Z-Wave. Place sensors within 30 feet of the hub to avoid signal interference, which can delay alerts or disrupt connectivity. For best battery longevity, choose models with low-energy consumption and test connections monthly. A reliable setup starts with selecting a smart home hub that supports your preferred wireless protocols.
| Feature | Benefit |
|---|---|
| Wireless protocols (Z-Wave, Zigbee) | Reduce signal interference |
| Low-power modes | Extend battery longevity |
| App integration | Enables instant alerts |
| Hub compatibility | Guarantees reliable performance |
Follow setup prompts carefully, and confirm each sensor appears active in the app. Proper pairing guarantees consistent monitoring without extra maintenance.
Test Alerts and Fine-Tune Placement
Why risk false alarms or delayed notifications when a few quick tests could guarantee your system works exactly as intended? Start with alarm testing by opening and closing the garage door several times to confirm alerts trigger promptly. Check your smart hub or phone app to verify notifications arrive within seconds. If alerts lag or fail, reposition the sensor for better alignment-small adjustments improve reliability. Perform sensor calibration by ensuring the magnet and sensor sit flush, no more than 1/4 inch apart when closed. Test in different lighting and temperature conditions, as extremes can affect wireless signals. If false alarms occur, refine placement away from vibrating surfaces or metal interference. Repeat testing until results are consistent. Proper calibration enhances accuracy, reduces errors, and extends battery life. This step isn’t optional-it’s essential for trustworthy, long-term performance.
On a final note
You’ve secured your garage entry points without drilling using reliable wireless sensors. These peel-and-stick models offer strong adhesion on clean, dry surfaces and connect seamlessly to most smart systems. Expect solid performance with minimal maintenance, though extreme temperatures may affect battery life. For best results, test alerts monthly and reposition if needed. Most kits cost $20–$50, offering affordable, effective monitoring. Plan placement carefully for ideal coverage.