Positioning Surveillance Cameras at Property Corners for Full Perimeter Coverage
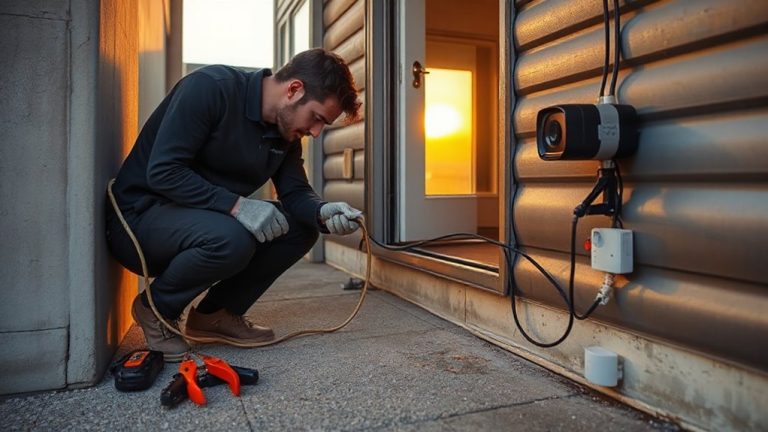
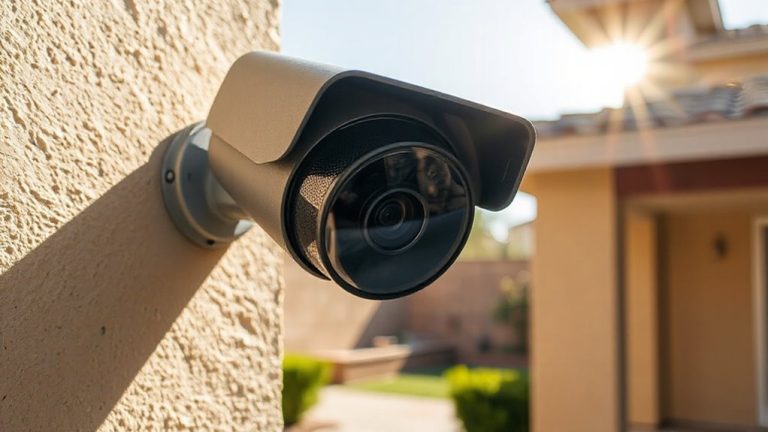
Place cameras at property corners for wider coverage and fewer blind spots, using wide-angle models for broad views or PTZ cameras for active monitoring. Mount them 8–10 feet high and tilt slightly down to capture faces and entry paths clearly. Overlap views by 10–15% to eliminate gaps, and use weatherproof housings with IP66 ratings. Avoid sun glare by positioning under eaves, and add infrared or motion-activated lights for reliable night coverage. You’ll find further details on optimizing each setup choice just ahead.
Notable Insights
- Mount cameras at property corners to maximize field of view and reduce blind spots.
- Position cameras 8–10 feet high and tilt slightly downward for optimal clarity and tamper resistance.
- Use wide-angle cameras for broad coverage or PTZ cameras for active monitoring of large areas.
- Overlap adjacent camera views by 10–15% to eliminate gaps and ensure seamless coverage.
- Install weatherproof, IR-equipped cameras under eaves to ensure reliable day and night performance.
Why Corner Placement Improves Perimeter Security
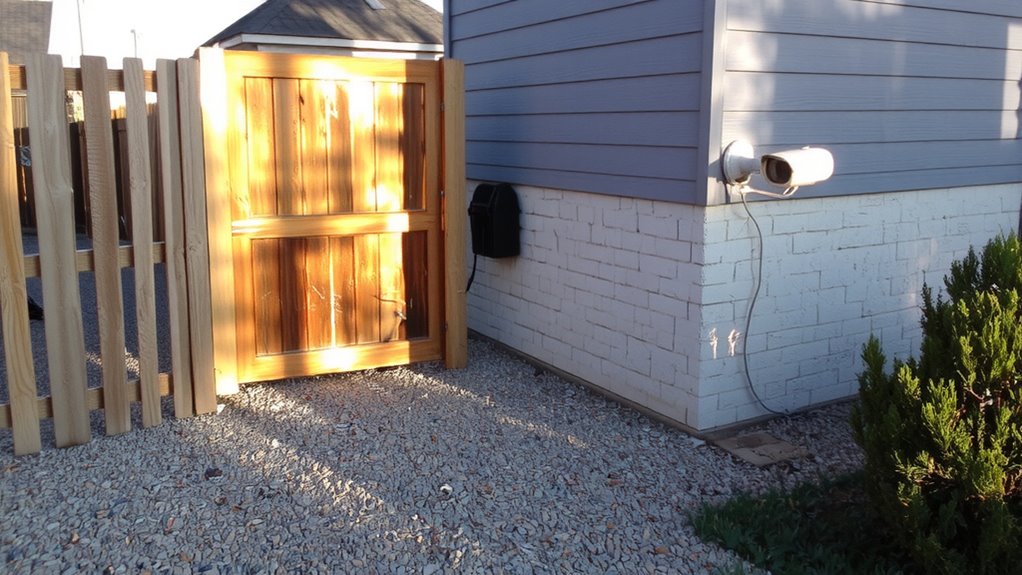
While mounting surveillance cameras in the middle of a wall might seem logical, placing them in corners often gives you better visibility across multiple sides of your property. You gain a wider field of view, reducing blind spots where intruders could hide. This strategic angle lets you monitor two adjacent zones at once, increasing overall coverage without extra equipment. Cameras in corners also improve motion detection accuracy, since movement across the property’s edges typically follows predictable paths. Because most outdoor activity occurs near perimeters, corner placement guarantees motion sensors focus on high-risk areas. You’ll avoid false alerts from distant, irrelevant motion, like passing cars or wildlife. While corner mounts may require precise alignment and slightly more planning during installation, the benefits outweigh the effort. For consistent monitoring and stronger deterrence, corner placement delivers proven results-maximizing both field of view and motion detection performance. Top-rated models like the best outdoor security cameras offer advanced features specifically designed for optimal corner installation and perimeter monitoring.
Choose a Wide-Angle or PTZ Camera for Corners
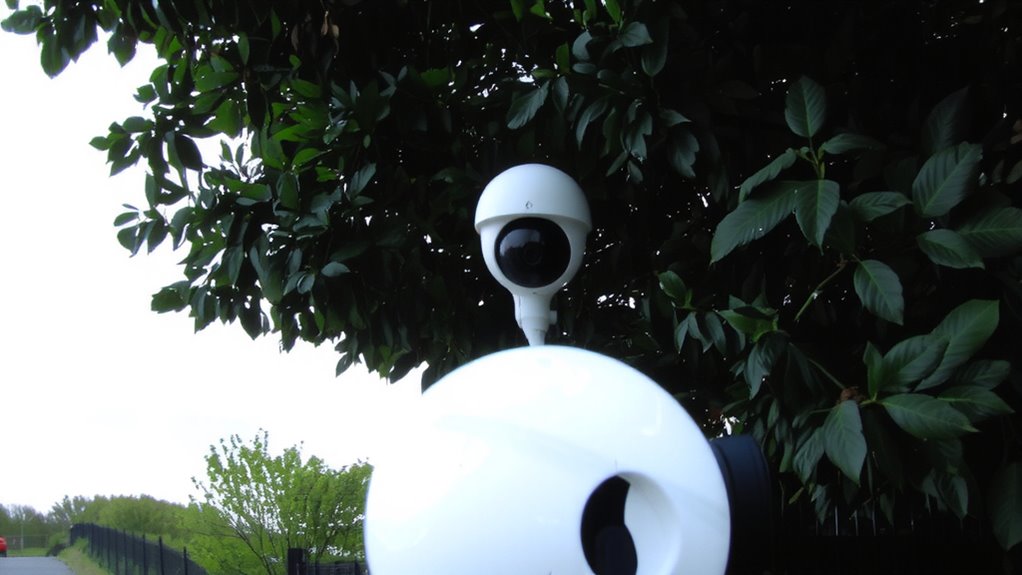
If you’re setting up a camera in the corner of your property, picking the right type-wide-angle or PTZ (pan-tilt-zoom)-can make a real difference in how much you see and how well you can respond. Wide-angle cameras give you a broad view, covering more area at once, which is great for open corners. But keep in mind their image quality can drop at the edges, and resolution limits may reduce clarity over distance. PTZ cameras let you actively monitor by panning, tilting, and zooming in on movement, offering better detail when needed. They’re ideal if you need to follow activity across a large perimeter. However, they cost more and may miss events outside their current view. For most homes, a wide-angle with high resolution balances coverage and image quality, while PTZ suits larger properties needing active monitoring. A reliable option for perimeter coverage is investing in cameras with strong low-light performance and weather resistance, such as those recommended in the best home security cameras roundup.
Mount Cameras at 8–10 Feet and Tilt Slightly Downward
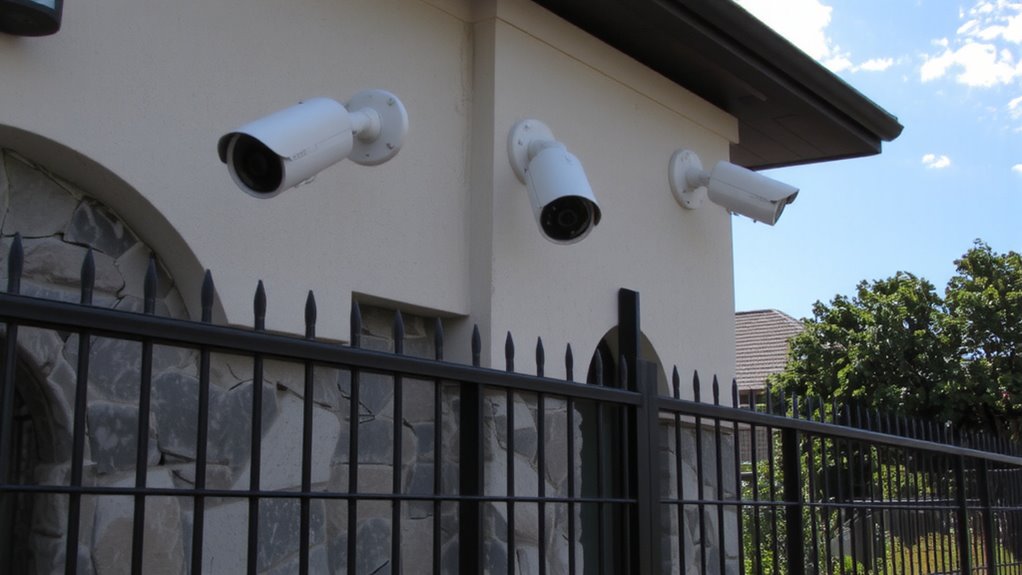
Mounting your surveillance cameras between 8 and 10 feet high gives you the best balance of coverage, image clarity, and tamper resistance. This camera height keeps the lens out of easy reach while still capturing clear facial details and license plates. Too high, and image quality suffers; too low, and intruders can avoid detection or tamper with the device. Set a slight downward tilt to focus the field of view where it matters-on entry points, pathways, and suspicious activity near the perimeter. The downward tilt reduces glare from overhead light and minimizes sky or roof clutter in the frame. Most wide-angle or PTZ cameras perform best with this adjustment, ensuring maximum performance. Test the angle during installation using live feed preview. Proper camera height and downward tilt together boost effectiveness without extra cost.
Overlap Corner Views to Eliminate Blind Spots
Since corners are common blind spots where intruders can hide, overlapping the views of adjacent cameras guarantees complete coverage and eliminates gaps in your surveillance. You should align cameras so their fields of view intersect slightly, enabling edge blending for a seamless shift between feeds. Proper signal synchronization secures both cameras capture real-time, coordinated footage, reducing delays during playback. This approach improves motion tracking and increases the chance of identifying potential threats. For optimal results, consider deploying a wireless surveillance camera system that supports synchronized recording and wide-angle coverage.
| Feature | Benefit |
|---|---|
| Overlapping coverage | Removes blind spots at corners |
| Edge blending | Creates smoother video shifts |
| Signal synchronization | Secures aligned, accurate timestamps |
| 10–15% view overlap | Balances coverage without redundancy |
Plan overlaps carefully-too little risks gaps, while too much wastes storage and complicates monitoring. Aim for precision to maximize both security and efficiency across your system.
Install Weatherproof Housings and Avoid Sun Glare
You’ve already secured corners with overlapping camera views, so now focus on ensuring those cameras perform reliably in real-world conditions. Install weatherproof housings to protect against rain, snow, and dust-this extends camera life and reduces long-term camera maintenance. Look for housings with an IP66 rating or higher for solid protection. Also, position your cameras to avoid direct sunlight hitting the lens, as sun glare can wash out footage and trigger false alerts. You’ll get clearer images and more consistent performance by angling the camera or using natural shade. Regular lens cleaning prevents buildup of dirt and grime that degrades video quality. Wipe the lens every few months, or more often in dusty or rainy climates. Mounting under eaves helps, but avoid placing cameras where morning or afternoon sun faces the lens directly. These small steps improve reliability and keep your system effective year-round.
Add Infrared or Smart Lights for Night Coverage
While standard cameras struggle in low light, pairing them with infrared illumination or smart lighting guarantees clear night coverage without breaking the bank. Infrared lights work silently and invisibly, letting your camera capture black-and-white footage even in total darkness-ideal for discreet monitoring. Smart lights, on the other hand, use motion detection to activate brightness when activity occurs, potentially deterring intruders. Both options support smart integration, allowing alerts and recordings to sync with your home security app. Infrared setups are usually cheaper and more energy-efficient, while smart lights add visibility and ambiance. For best results, position lights to cover blind spots without causing glare. Choose infrared if you want constant, passive monitoring. Opt for smart lights if you value real-time responsiveness and dual-purpose functionality. Either way, you’ll enhance nighttime reliability across your property corners.
Test Your Corner Camera Setup in Real Conditions
Putting your corner camera system to the test in real-world scenarios confirms whether your placement and equipment choices actually deliver reliable coverage. Walk the perimeter at different times of day to check camera alignment, making certain each unit captures its intended zone without blind spots. Test motion detection by approaching from various angles, noting how quickly the system responds. At night, verify infrared performance and smart lighting integration for clear footage. Monitor live feeds on your phone to assess signal interference, especially if using wireless models near large trees or metal structures. Interference might cause lag or dropped connections, so consider a wired setup or signal booster if issues arise. Recheck alignment after a few days, as weather or settling can shift positions. Testing under real conditions guarantees durable, effective coverage.
On a final note
You secure your perimeter best by placing cameras at property corners, where sightlines overlap and blind spots shrink. Use wide-angle or PTZ models, mounted 8–10 feet high and tilted slightly down. Pick weatherproof units with infrared or smart lighting for reliable night coverage. Avoid glare, test views in real conditions, and expect to spend more on quality equipment-usually $100–$300 per camera-but the investment boosts deterrence and monitoring.